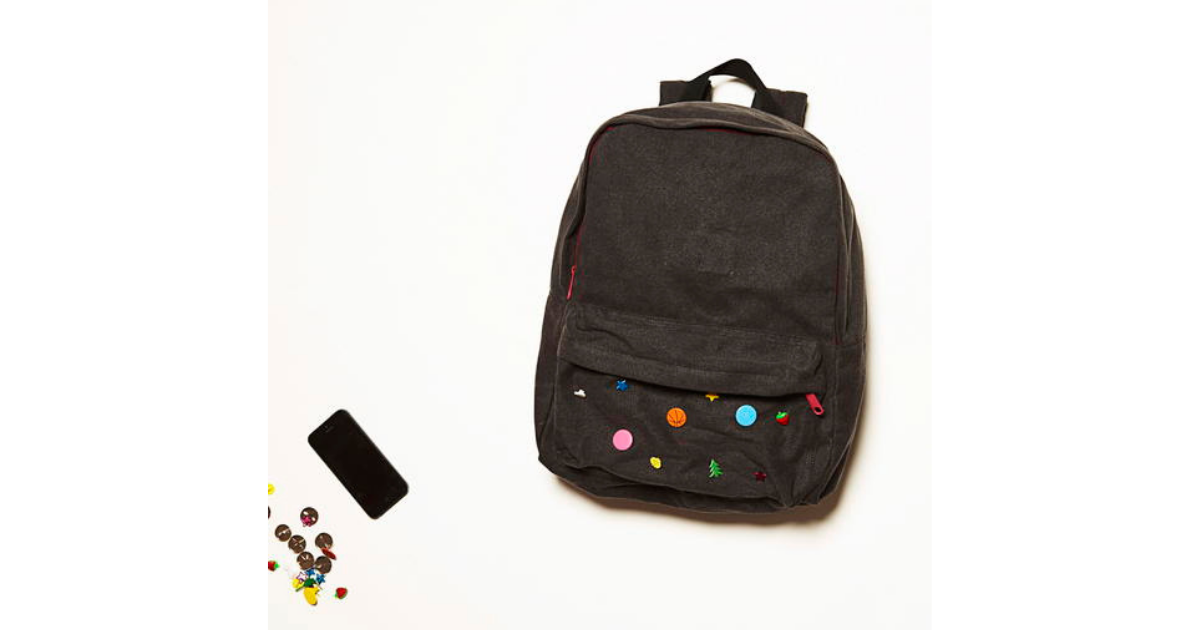

Want to upgrade your backpack? Give your everyday bag a quirky spin with this ridiculously easy DIY.
KIT:
• Backpack.
• Decorative brads (split pins).
• Novelty buttons.
• Scissors
• Needle and thread
• Old newspaper
STEPS:
1. Stuff your backpack full of newspaper so that it has a full shape when you begin.
2. Position the brads and buttons across your backpack in your desired arrangement. TIP: Don’t be afraid to mix it up and place the brads and buttons in random spots across your backpack. Try out some different arrangements and take pics of the ones you like best so you can compare your faves. A photo is also handy when it comes to fastening them all, just to make sure you don’t forget your arrangement!
3. To attach the brads, cut a small slit on the backpack in the chosen position for each. Next, stick the brad in the hole, bending the wire legs back inside the bag to keep them in place. TIP: If any brads are in cuts that are a little too big, use super glue on the back so they don’t become loose.
4. To attach the buttons, sew them onto the backpack with a needle and thread. TIP: Once you’ve sewn a button in place, wind the thread around the base of the button about five times and push the needle back through the thread before knotting to make sure it won’t unravel easily. Remember, it’s all about the design, so make sure it reflects who you are!
ALSO READ: DIY Rorschach-print jumper