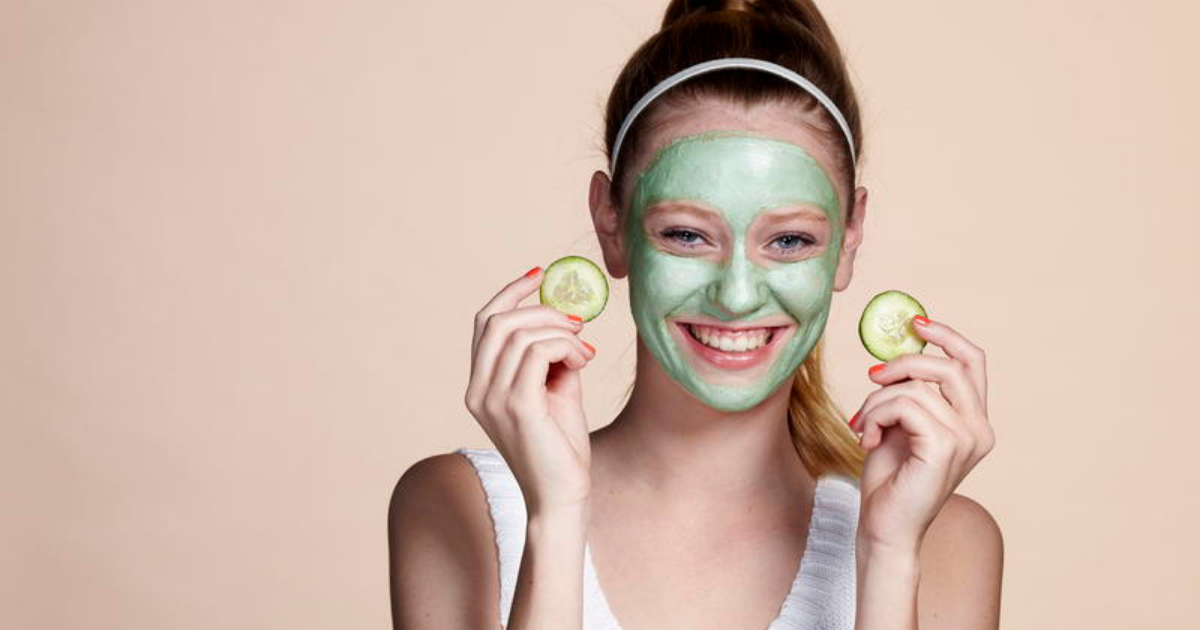

Get glowing for your formal and save your pennies at the same time with this foolproof facial formula.
Getting gorgeous, glowing skin at home is easier than you think. Jocelyn Petroni from Sydney’s The Facial Room shows us how.
STEP 1 Cleanse, cleanse, cleanse: According to Jocelyn, cleansing is the most important step of a facial as it removes dirt, make-up and excess oil from your skin so that the products you apply afterwards can penetrate properly. “It’s always worth doing a double cleanse, especially during a facial,” says Jocelyn. “The first cleanse removes the stuff on the surface, while the second goes deeper to clean pores and remove dead skin build-up.”
STEP 2 Buff stuff: A good, deep exfoliation is your hot ticket to Glowtown and can help with a multitude of skin issues like breakouts, congestion and dullness. If your skin is oily, you should be able to handle most types of scrubs but if you have dry or sensitive skin, choose a creamier formula with perfectly round beads that won’t scratch.
STEP 3 Wear the mask: Now that you’ve sloughed away the outer surface cells of your skin, you can • use a mask to go deeper. “If your skin is oily or you get breakouts, go for a claybased mask, but if your skin is dry or dehydrated, go for a rich, moisturising mask,” says Jocelyn. Leave it on for 10 • to 20 minutes – better yet, take a bath : while you wait! “The steam from your bath will help infuse the mask into your skin.” After you’ve washed it off, finish your DIY facial with some moisturiser.
Want to take your facial up a notch?
While squeezing pimples is usually a big no-no, gentle extractions during a facial are OK as long as you do it right. “Before you apply your mask is the best time to do extractions as your skin is cleansed, exfoliated and prepared,” says Jocelyn.
First, steam your face for a few minutes by sitting over a bowl of hot water. Next, wrap your fingers with tissues and start to gently extract, starting along your nose. “Only extract what comes out easily and never do the same spot twice,” says Jocelyn. “If in doubt, don’t squeeze or you’ll do more damage than good.”
Jocelyn’s tip: “YOU CAN USE DIFFERENT MASKS ON DIFFERENT AREAS OF YOUR FACE. FOR EXAMPLE, YOU MIGHT WANT TO USE A CLAY MASK ON OILY AREAS WHERE YOU GET PIMPLES, THEN APPLY A CREAMIER MASK TO DRY AREAS THAT NEED A HIT OF MOISTURE.”
DIY facial dos & don’ts
✓ DO: Use lukewarm water only. Going too hot can cause broken capillaries (redness in the skin and irritation.
X DON’T: Scrub too hard during exfoliation or you might cause damage to your skin. Not cool.
✓ DO: Leave your clay mask on problem areas overnight for an even deeper cleanse.
X DON’T: Squeeze with all your might. Only use gentle pressure during extractions and if the blemish doesn’t come to the surface, leave it and move on.
✓ DO: Boost your steam session by adding a couple of drops of antibacterial eucalyptus oil to the bowl.
ALSO READ: Bad for your body, good for your skin