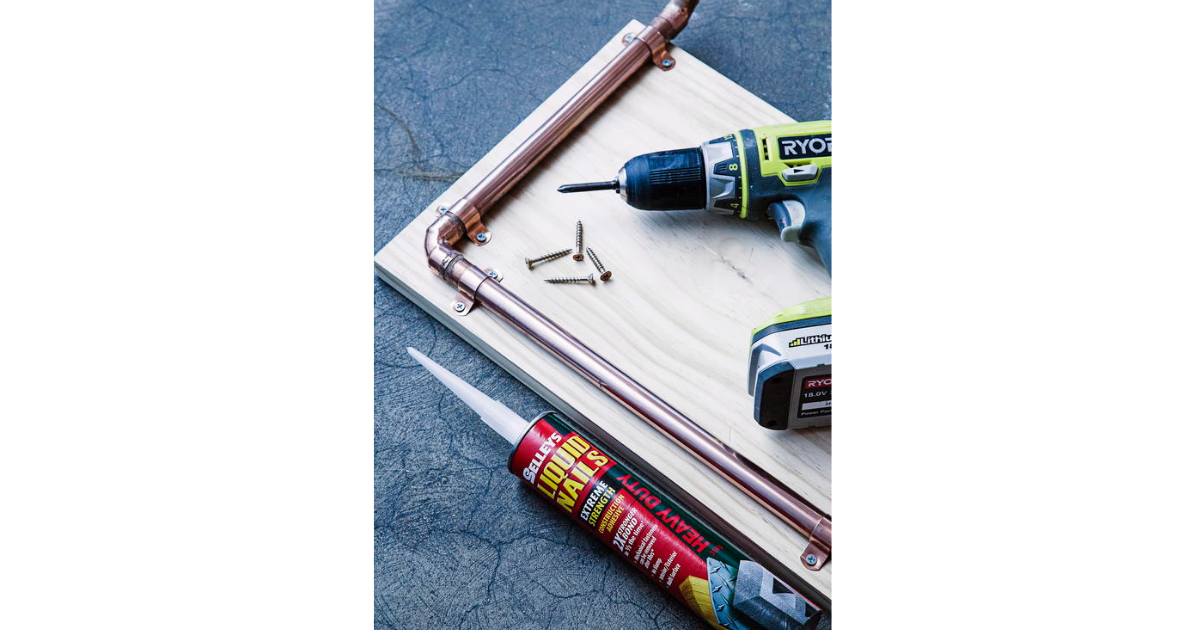

Transform some copper pipe and plywood into a handy side table. Here’s how…
PROJECT Copper-pipe side table
You will need
• Tape measure
• Sharpie
• Copper pipe, elbows & saddle clips .
G-clamps
• Pipe cutter
Selleys Liquid Nails
• Handsaw or drop saw
• Plywood
• Drill & screws
Step 1: Use tape measure and Sharpie to measure and mark copper pipe into eight lengths. You will need: 2 x 60cm lengths, 2 x 45cm lengths and 4 x 30cm lengths.
Step 2: Carefully cut pipe at marked points using pipe cutter. Note: you may need to secure a pipe to workbench with G-clamps.
Step 3: On the floor, create a “U” shape with one 45cm length and two 30cm lengths. Apply Liquid Nails to the insides of two copper elbows then connect pipe lengths with elbows.
Step 4: Apply glue to two more copper elbows and attach to the top of the “U” shape so the elbow is pointing up. Insert 60cm lengths into the elbow so they are standing vertically. Note: you can lean the structure against the wall so it doesn’t topple over.
Step 5: Repeat “Step 3” with remaining copper lengths. Attach the “U” shape to the other end of the 60cm lengths. Allow glue to dry.
Step 6: Use a handsaw to cut plywood into a rectangle: 60cm x 40cm. Or have your local hardware store cut it to size for you.
Step 7: Place plywood on the floor and stand copper piping on top. Secure copper pipe to plywood using drill, screws and saddle clips. Flip the table the right way around and move it to wherever you please.
ALSO READ: Four ways with… jars